Stitching Stories: Handcrafted Bookbinding
By Anelia Van Zyl
Embark on a journey through the art of bookbinding—an ancient craft that brings together the essence of creativity and practicality. There’s something magical about holding a book in your hands, especially one you’ve crafted yourself. With just a few materials and a touch of creativity, you can create a unique and personalized book in just a few stitches.
It’s quick and easy, and the kids can also join in!
Materials
- 70–90 GSM sheets of paper for the inside pages (These can be any size you desire for your book. I chose A4.)
- Pencil
- Awl or hole punch
- Scissors
- Thread, durable and thin, like linen thread or waxed thread
- Medium-sized embroidery needle
- Strong tape
- Cardstock for the covers (the same size as the front and back of the signatures*)
- Glue
- Decorative paper, fabric, photos, paints (optional)
Steps
Preparing the pages
- Gather your paper and arrange the sheets for the inside pages by folding them in half.
- Create the signatures*—a set of pages—by organizing the folded sheets into small groups (usually three to five per signature). Ensure they’re in the order you want them to appear in the book.
Creating holes
- Take the first signature, and on the folded edge, make marks with a pencil where you’ll create the holes for sewing. Make three equidistant marks along the fold (middle, top, and bottom), leaving a 3cm space at both the top and bottom.
- Use an awl or hole punch to pierce holes at the marked spots. Repeat this process for all the signatures.
Note: Make sure to create the holes in the same place as in the first signature. You can use an extra piece of paper to create a template to ensure the holes align.
Sewing the signatures
- Cut a piece of thread that’s roughly three times the height of your book.
- Thread the needle and starting from inside each signature, go out through the middle hole. Leave a tail of thread inside.
- Then sew in through the bottom hole and back out through the middle hole. Now sew in through the top hole, back out through the middle hole, and again back in through the top hole. Once your needle and thread are back inside the signature, you will be left with two loose ends. Tie them together fairly tightly with a double knot and cut the long ends. Then, move to the next signature and repeat the same stitching process (5-7).
Finishing up
- Place the signatures together in a neat pile with the sewn edges together to create the spine of your book. Secure the spine with strong tape.
- Now add the front and back covers by applying glue to the two cardstock pieces and fixing to the front and back pages. Sandwich your book between two heavy books or anything else that can apply pressure on both sides and leave it to dry completely.
Final touches
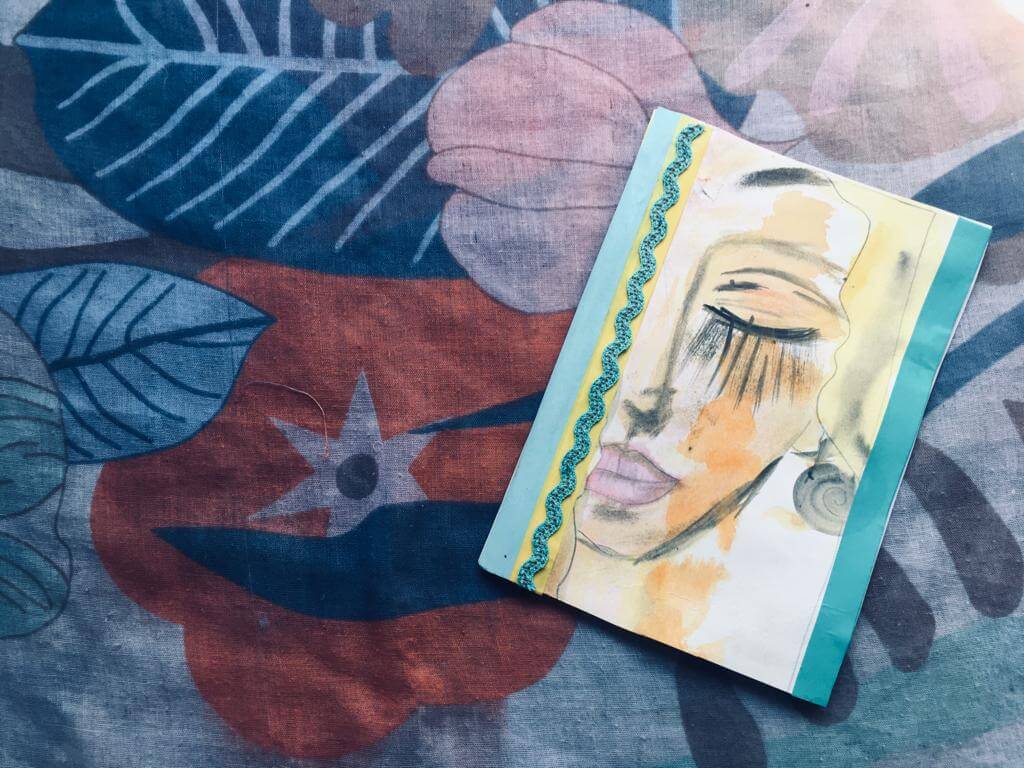
- After the covers are dry, you can start adding decoration. I used watercolor paper for my covers and painted a quick picture on it, then I added washi tape in complimentary colors to the sides. You could also use photos or pictures to create a collage cover.
Now your new book is ready, you just need to decide what you're going to use it for. Will it be a diary? A scrapbook? A children's story? A picture book? A sketchbook? With blank pages to fill and a new year ahead, the choices are endless!
*Signature: A group of pages folded and bound to form a section of a book
Photos courtesy of the author.
About the Author
Anelia is a performing artist from South Africa. She has been living and working as a teacher in Thailand for nine years. She also writes educational children’s books, makes music, and loves to spend time in the kitchen. Follow her adventures on IG @aneliavz